


OK it's coming and in honor of the blog hop I'm going to be participating in I thought I'd show you the tool I bought to make my project that will be posted later this month in the blog hop. Also I'm going to share a few links I've found on making some interesting PomPoms...
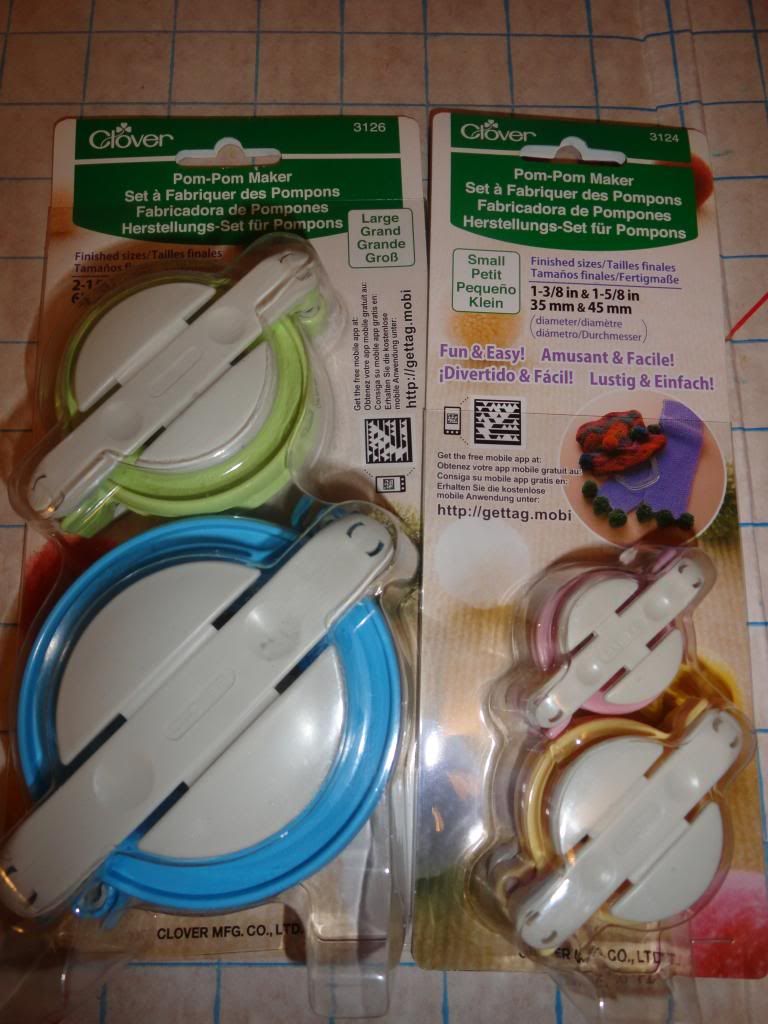
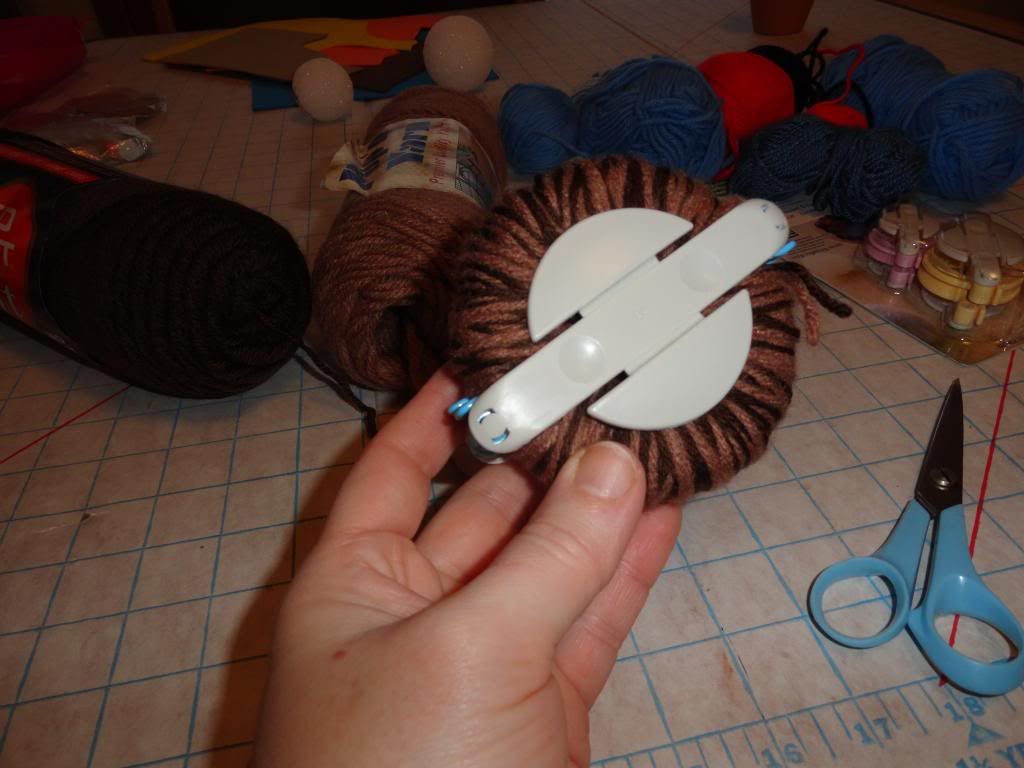
First my pompom maker that I acquired from JoAnn Fabrics. I'm a bargain hunter so went looking @ different places (Micheals, Wal-Mart and JoAnns were my choices here) to get the best deal for my money...I got the two pompom makers sets (4 different sizes) for the price of one set using my JoAnn's 50% off coupons. WooHoo for Me!!! This is the coolest tool.
They look confusing, but once you make one you'll be hooked.
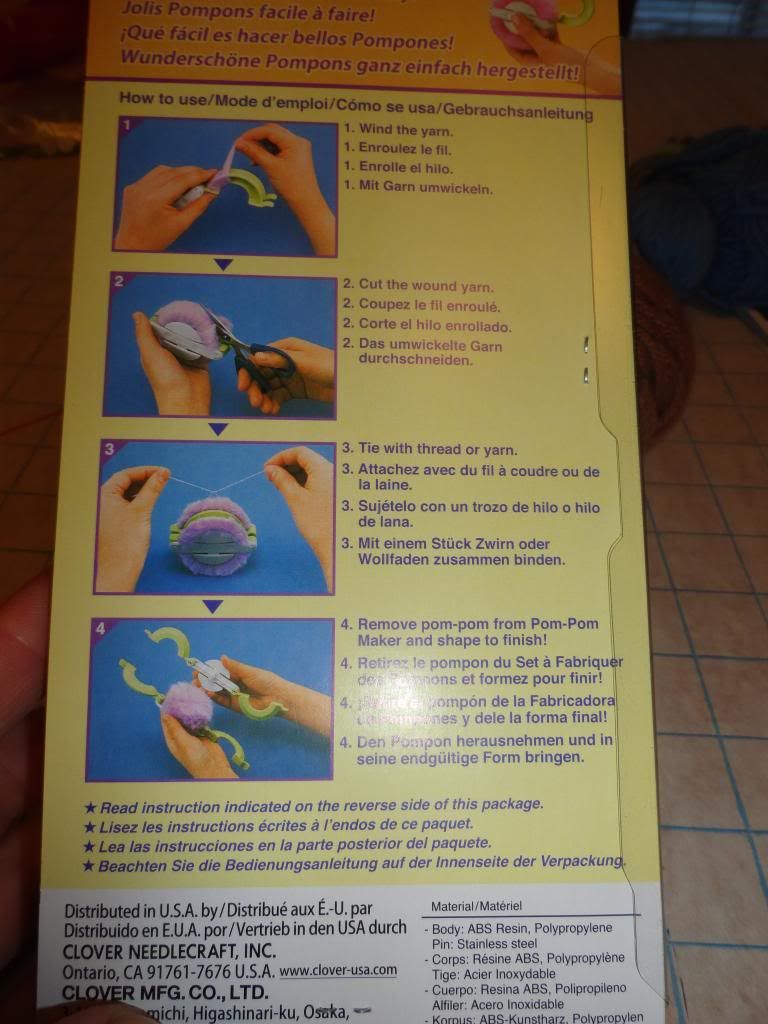
The instructions are right on the back of the package. You can also watch this Utube video on using the pompom maker.
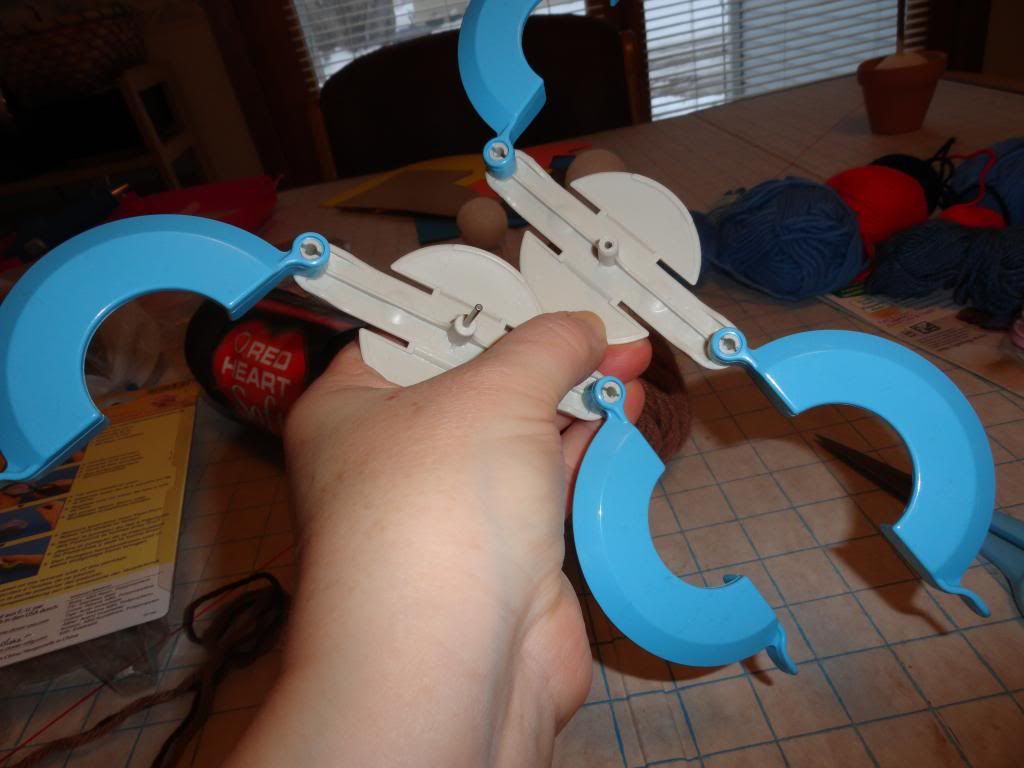
First I'm going to show you what the pompom maker looks like ~
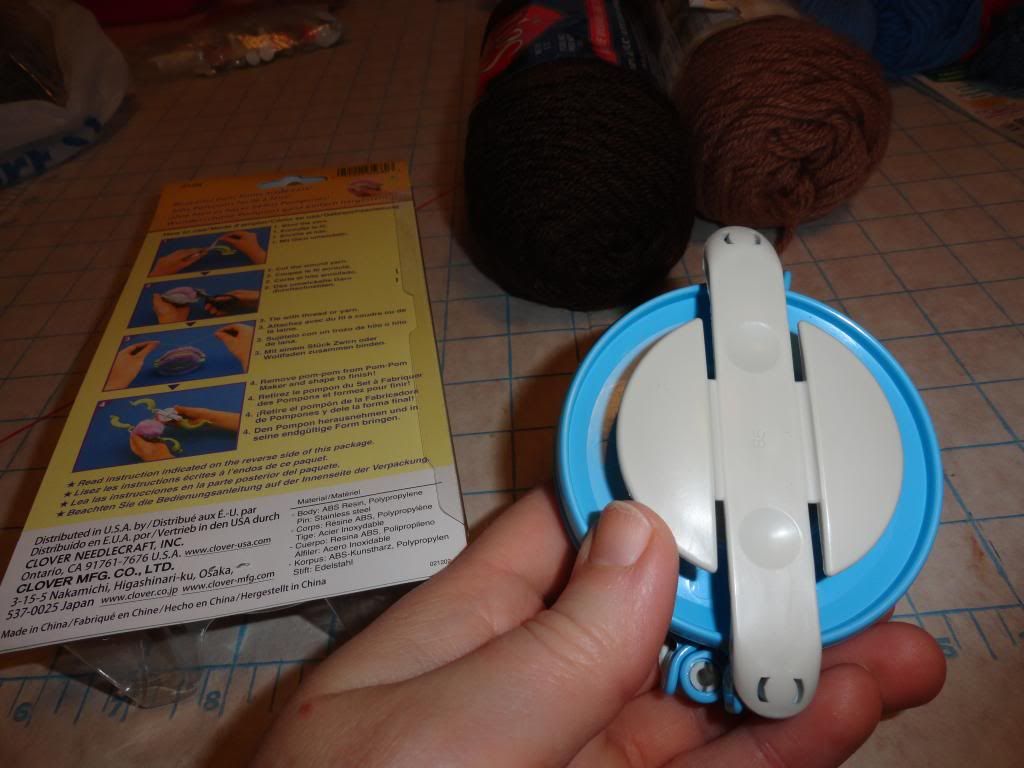 |
| this is what the pompom maker looks like all closed up |
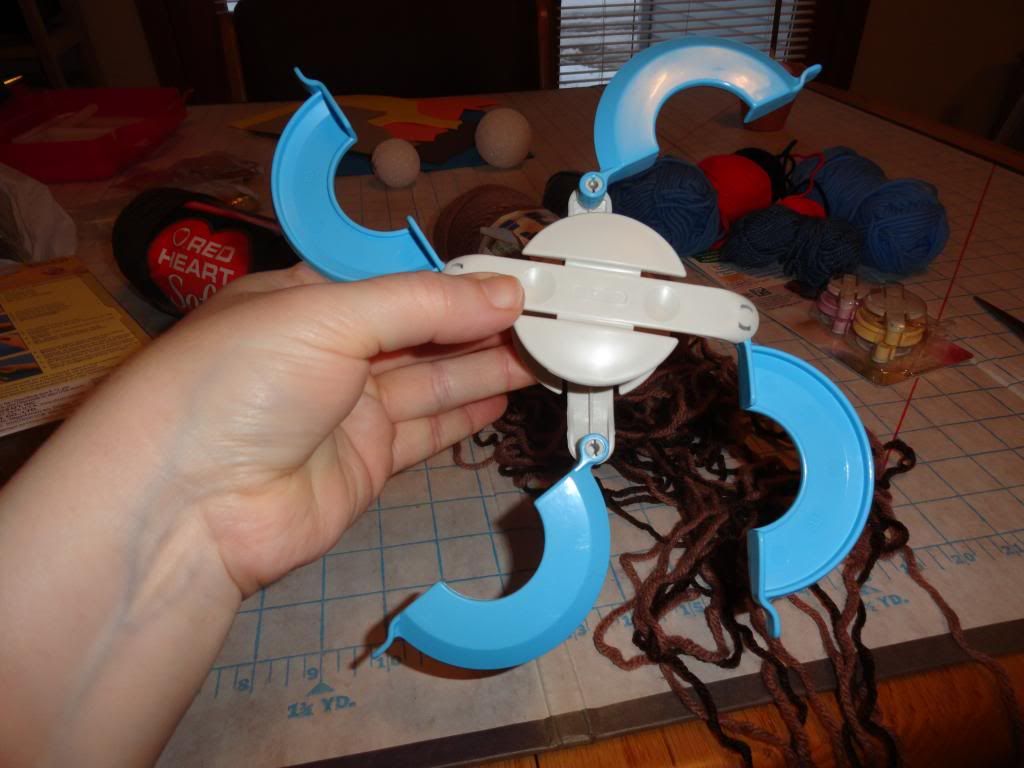 |
| this is what the pompom maker looks like all opened up |
 |
| even comes apart at the middle |
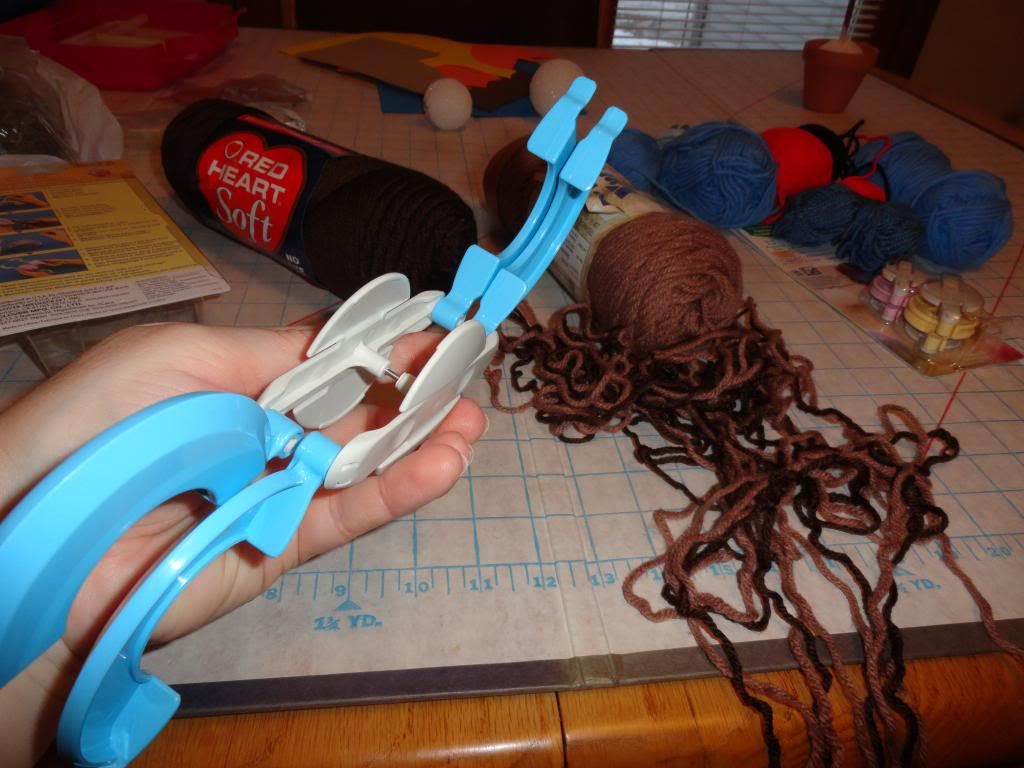
To make my pompoms for my OOOOO.....oh, I about told you what I was making...no, no, I can't do that. For my project I chose to use two colors cause I couldn't decide which I wanted a dark or lighter so I made them two toned...the project turned out really nice with the two tone I was glad I went that way makes it look more real.
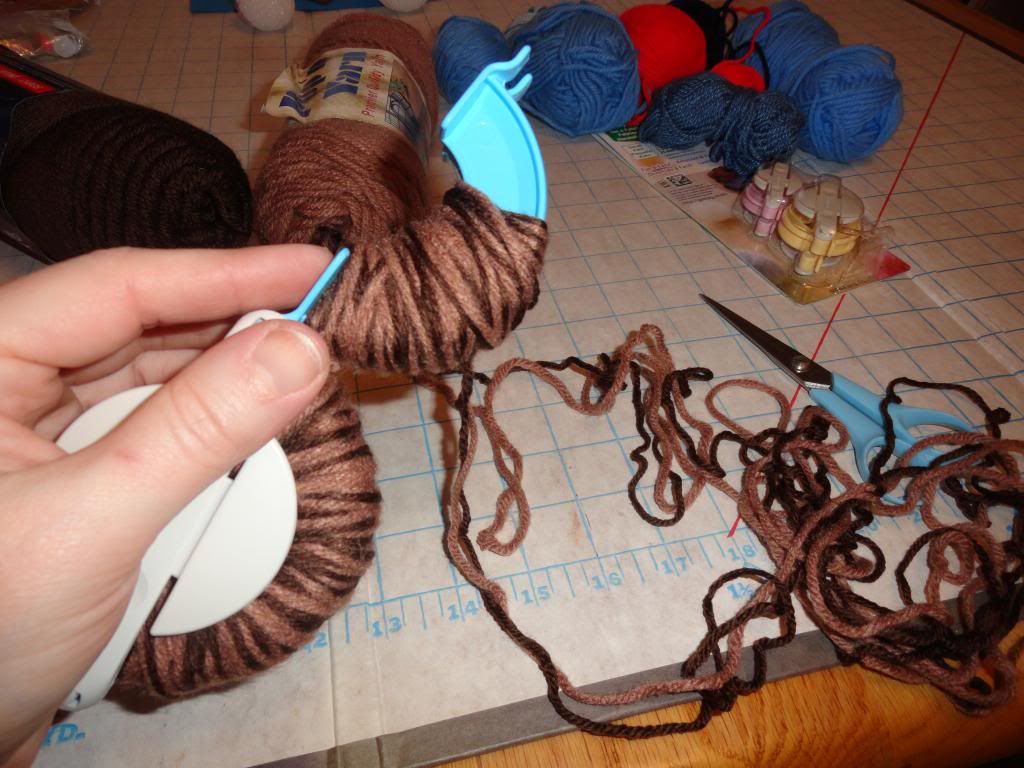
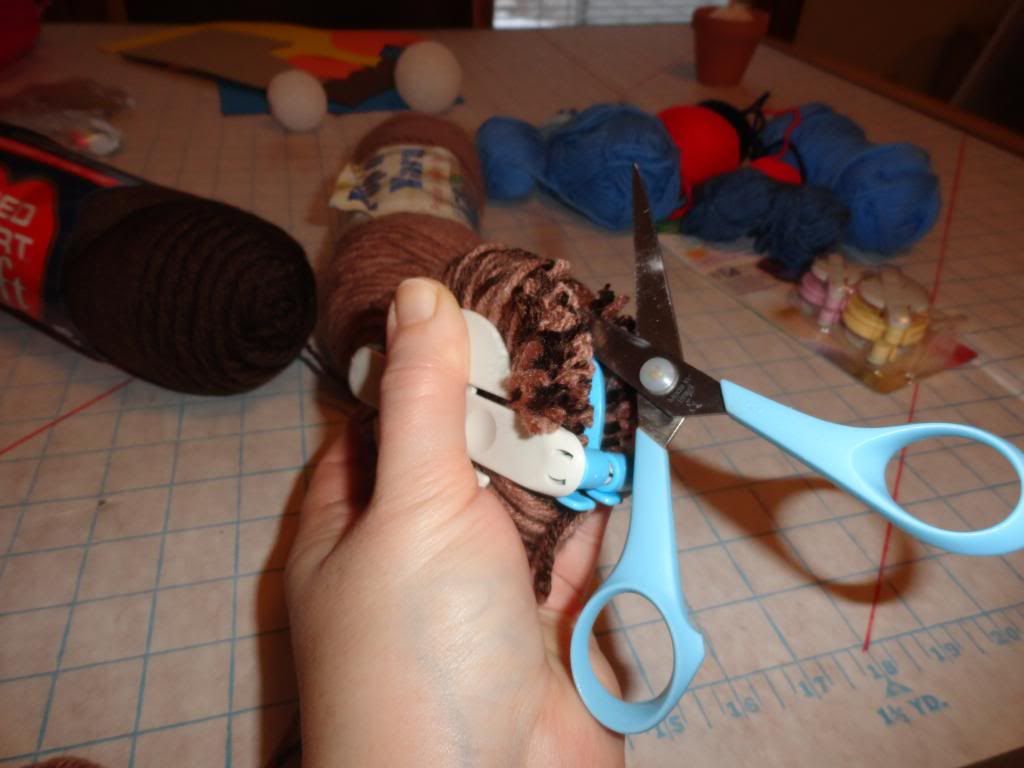
Now take a piece of yarn and wrap it around the center of the gadget where you just cut pulling tightly. tying several times into knots. It should disappear down into the pompom maker this is tying your pompom in the center.

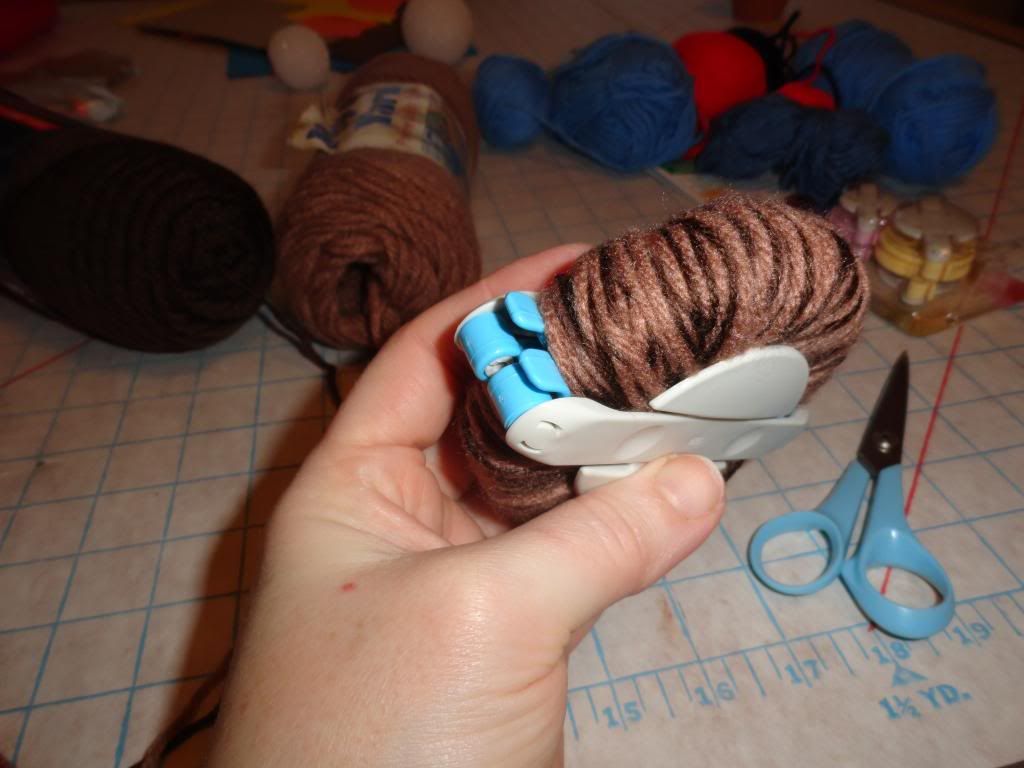
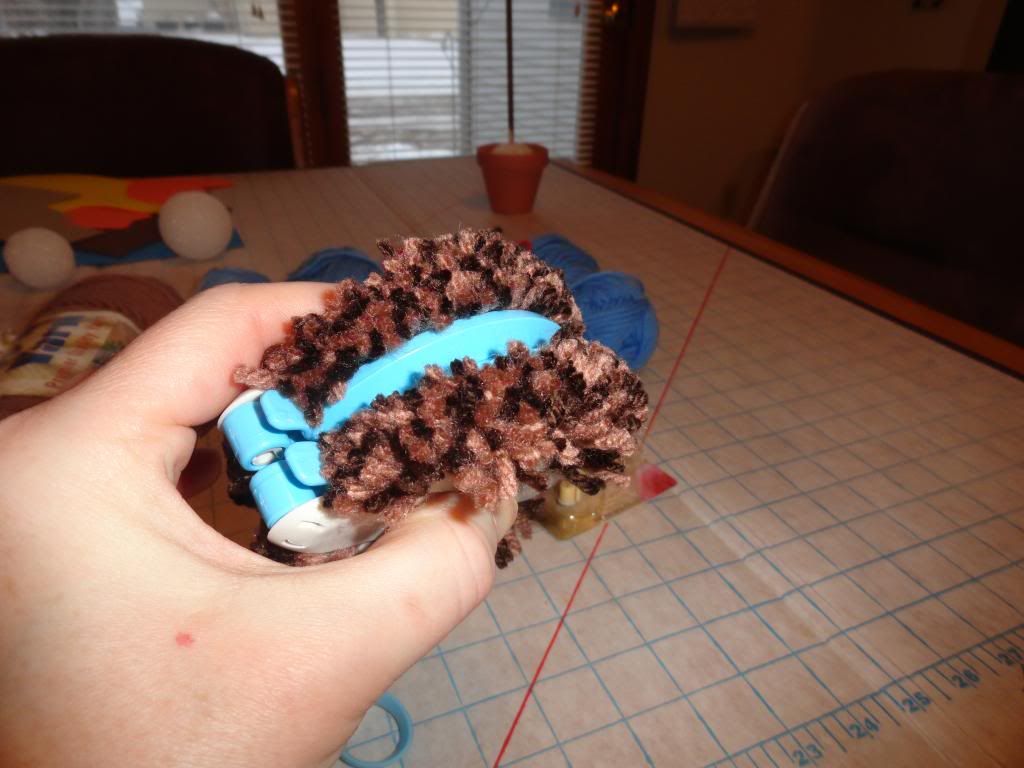
once you have it tied open the gismo and pull apart and your pompom emerges.
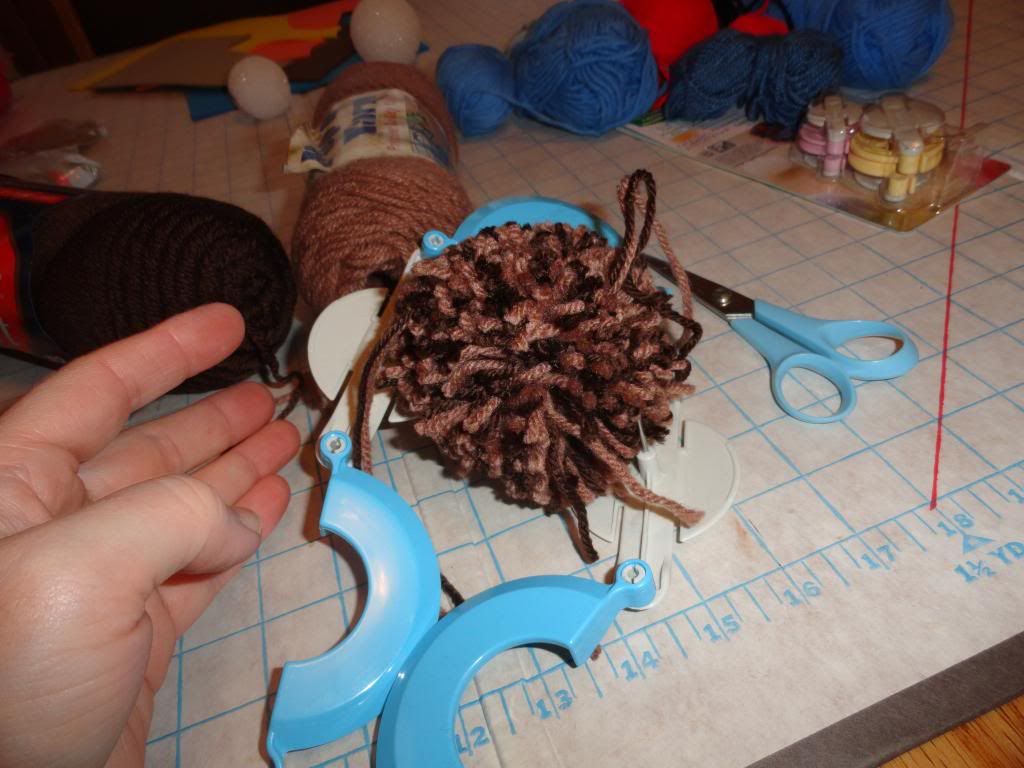
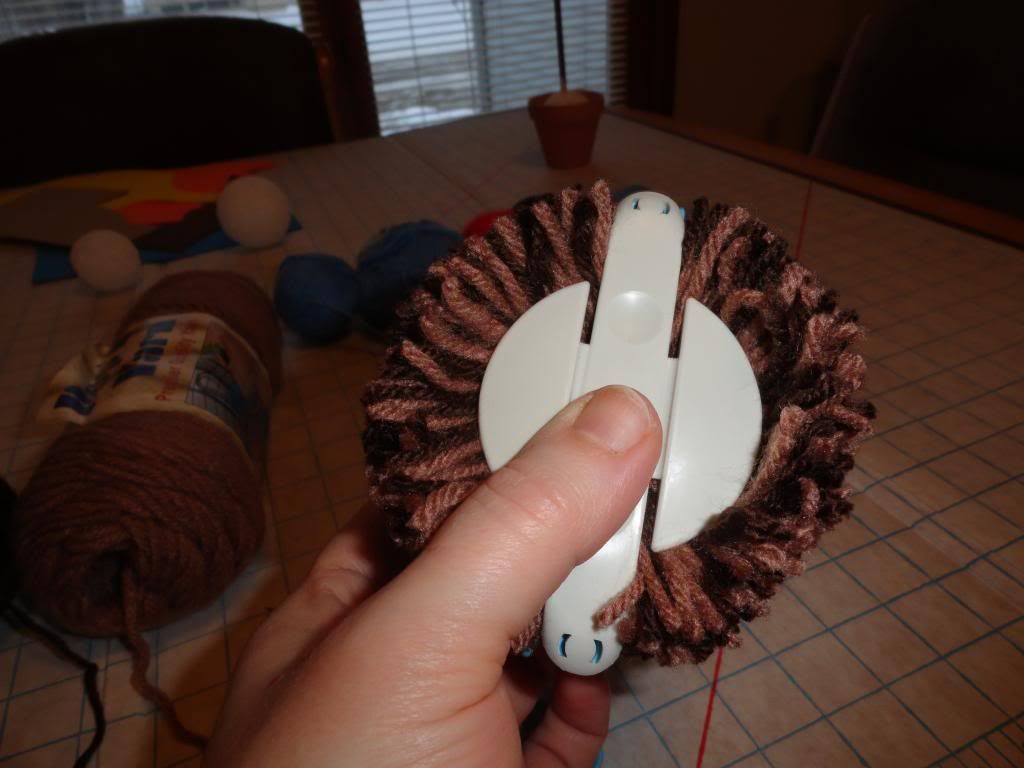
fluff...trim long straggles and Presto you have your beautiful Pompom
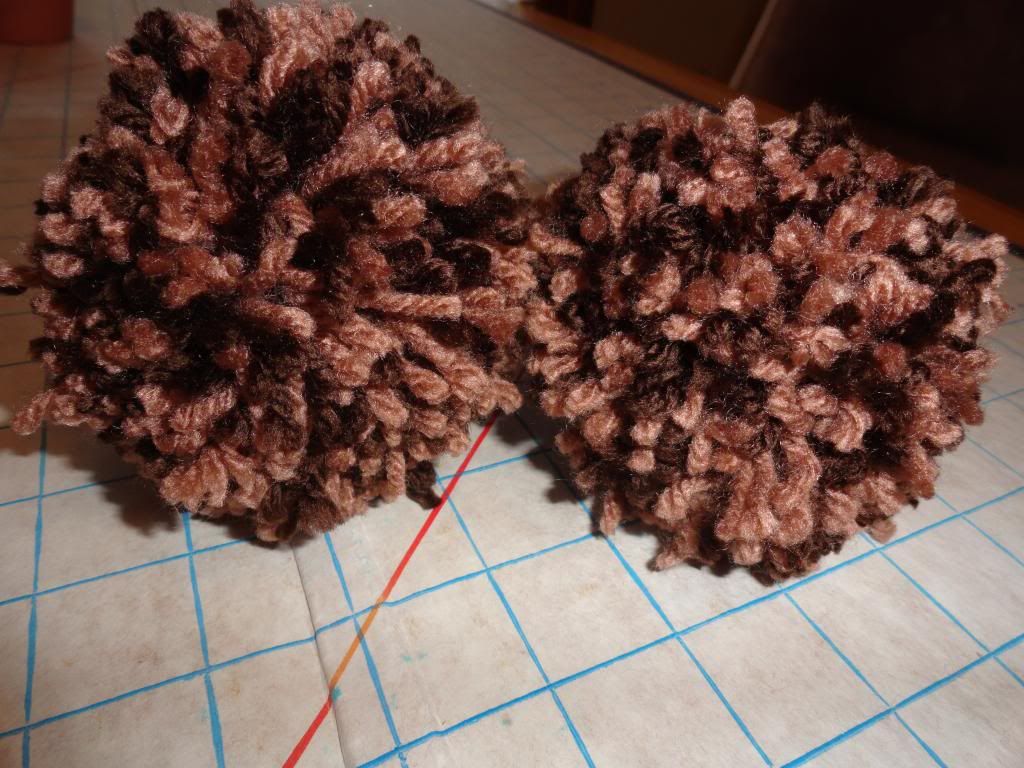
I just loved how the pompoms turned out.
this is my WIPs for this week getting ready to show you the final project during the blog hop.
here are a few cool links I found while looking for projects:
scrappy fabric pompoms...even show you how to make your own pompom maker similar to this one, but of course homemade.
one minute yarn pompom
simple tissue paper pompom with tutorial
DIY tissue pompom
Pompom ornament
Tulle Pompom
Whimsical pompom topiary
pompom topiary
pompom lampshade
pompom garland
pompom wreath
No comments:
Post a Comment
Thanks for adding a Scrap of your Life.